- Joined
- 11 Oct 2012
- Local time
- 10:06 AM
- Messages
- 20,888
- Location
- SE Australia
- Website
- www.satnavsaysstraighton.com
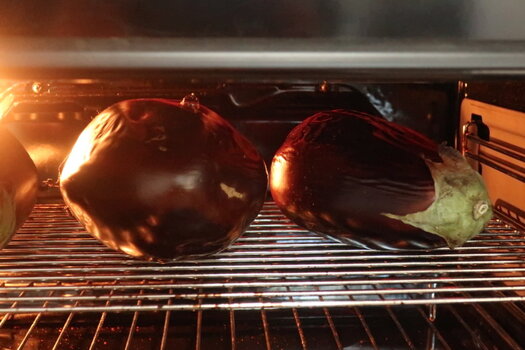
We used to have a gas cooker (rings and oven) which made this slightly easier, but now only have electric. There are still ways around the issues for charring the aubergines, you just have to get creative. You can use a blow torch, you can use a barbeque, you can use a camping stove, or you can just settle for charring the aubergine skins under the grill. How you do it is entirely up to you, you are the one cleaning up and you are the one eating the end product. I am currently using the camping stove outside. There is less cleaning up to deal with that way.
I like to remember the recipe in multiples of 3's. 1 aubergine to 3 cloves of garlic. 3 aubergines in total, 3 tbsp of homemade tahini and so in.... it makes life easier. I like my baba ganoush with chopped parsley, I like it with tahini (obviously) and I like it with some texture, not totally smooth, so don't over process it.
Sometimes I will also roast roughly 2/3rds of the garlic gloves as well, just for a change.
Ingredients
3 aubergine
6-9 cloves of garlic
3tbsp homemade tahini
3 tbsp lemon juice (lime juice can also be used)
a little lemon zest
1 tsp freshly ground cumin
3 tbsp chopped parsley
1 tsp tamari - to taste (sea salt can be used as an alternative here)
1 tbsp extra virgin olive oil (optional, for serving)
Method
I'll update the recipe with photos next time I make some.
I like to remember the recipe in multiples of 3's. 1 aubergine to 3 cloves of garlic. 3 aubergines in total, 3 tbsp of homemade tahini and so in.... it makes life easier. I like my baba ganoush with chopped parsley, I like it with tahini (obviously) and I like it with some texture, not totally smooth, so don't over process it.
Sometimes I will also roast roughly 2/3rds of the garlic gloves as well, just for a change.
Ingredients
3 aubergine
6-9 cloves of garlic
3tbsp homemade tahini
3 tbsp lemon juice (lime juice can also be used)
a little lemon zest
1 tsp freshly ground cumin
3 tbsp chopped parsley
1 tsp tamari - to taste (sea salt can be used as an alternative here)
1 tbsp extra virgin olive oil (optional, for serving)
Method
- Cut the aubergines in half and then place cut side down under the grill (UK terminology here) with the grill on as high as possible and char the skins. You can char the skins in any manner you want by the way, but charred they must be.
- Once the skins are charred, score the cut side and wrap the aubergine halves in foil and bake in the oven at 180C for around 30-45 minutes until the aubergine flash is completely soft. You want it totally soft. You can test the softness by using a tooth pick or similar and there should be no resistance met at all. If there is, cook for another 10-15 minutes and try again.
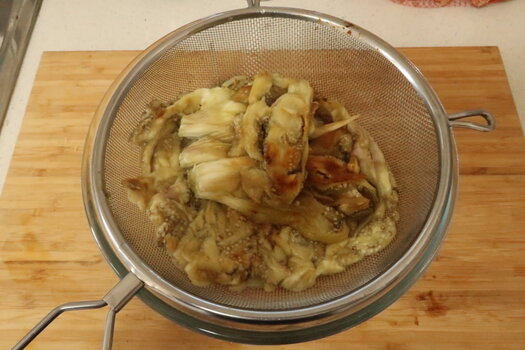
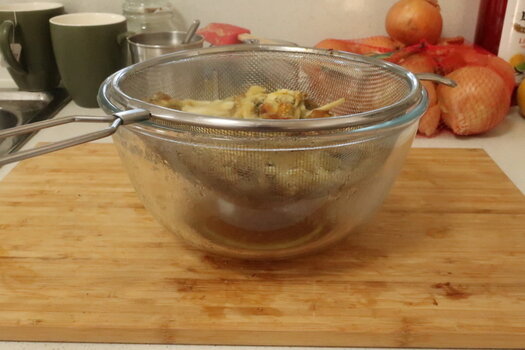
- Now unwrap the aubergine from their foil containers and carefully scoop out the flesh without any of the skin (a little is OK, more if you really like the smokey charred flavour, but remember the skin will colour the final product). Place the flesh directly into a sieve or colander and allow it to drain for around an hour or so. You want to get rid of as much of the liquid as possible without pressing all of the flavour out of the aubergine itself.
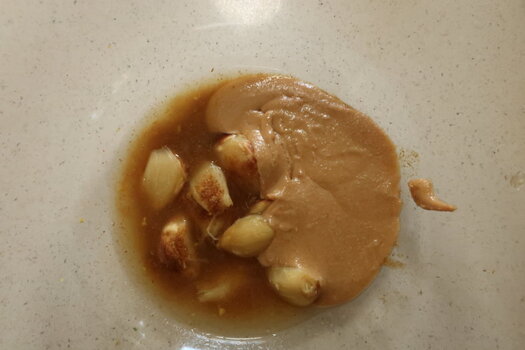
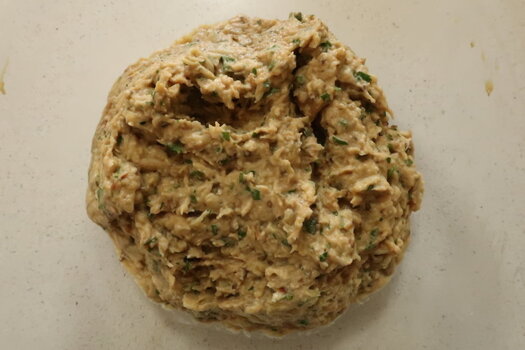
- Now add the crushed garlic (to taste), the homemade tahini, the lemon juice, lemon zest and freshly ground cumin to a bowl and mix well. Add the pressed/drained aubergine to the bowl and mash in well with a fork. The aim is to make the dip to the consistency you like - you can use a food processor for this if you really want to, but be very careful not to over process the aubergine otherwise you will end up with a dip that is totally smooth. Once you have the consistency you like, mix in the parsley and some of the tamari (soy sauce). Add just enough tamari to your taste.
- If possible leave the dip to mature in he fridge overnight.
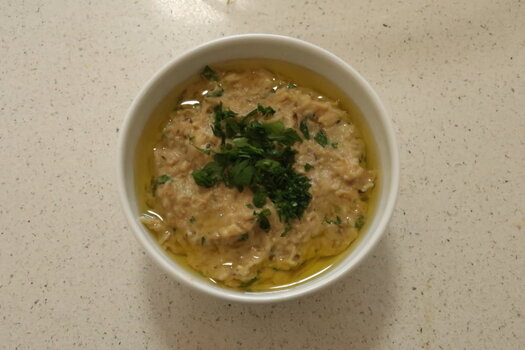
- To serve, decant into a bowl and drizzle the olive oil around the outside of the bowl. Serve with your preferred flat bread or sourdough.
I'll update the recipe with photos next time I make some.

